Wednesday, 30 April 2014

Cleaning the Amiga 600!

Having confirmed the Amiga 600 worked ok, today's job was cleaning it out. This of course meant pulling it apart for the first time.


After opening the case (as above), I took a closer look. As you would expect for a computer that is over twenty years old, it is quite dusty inside and in need of a good clean.

Below you can see the kickstart 1.3 ROM and the PCMCIA port on the left:


Thin layers of dust and bits of hair everywhere to clean up. Here is a close up of the IDE connector and hard disk caddy tray:


Really looking forward to cleaning this Amiga up. The shot below shows the Amiga 600 motherboard revision is 1.5, with the Amiga 600 codename "June Bug", continuing the tradition of naming system motherboards after songs written by the music group the B-52's:


The hard disk caddy below is not screwed in and is easily removed. I will keep this caddy out the Amiga 600 permanently as I know I can't have this caddy in place with the planned upgraded Accelerator board mounted in basically the same position:


Next I removed the awful yellowed keyboard from the top part of the Amiga 600 case.


Doing this revealed some terrible rust on the base of the keyboard (which was hidden by the top part of the case previously. In addition, the keyboard itself is bent too, probably from someone hitting or slamming too hard on the arrow keys playing a game I suspect!


The rust left imprints on the top case cover which I needed to clean up too. It made the decision to purchase a replacement second hand Amiga 600 keyboard make perfect sense.

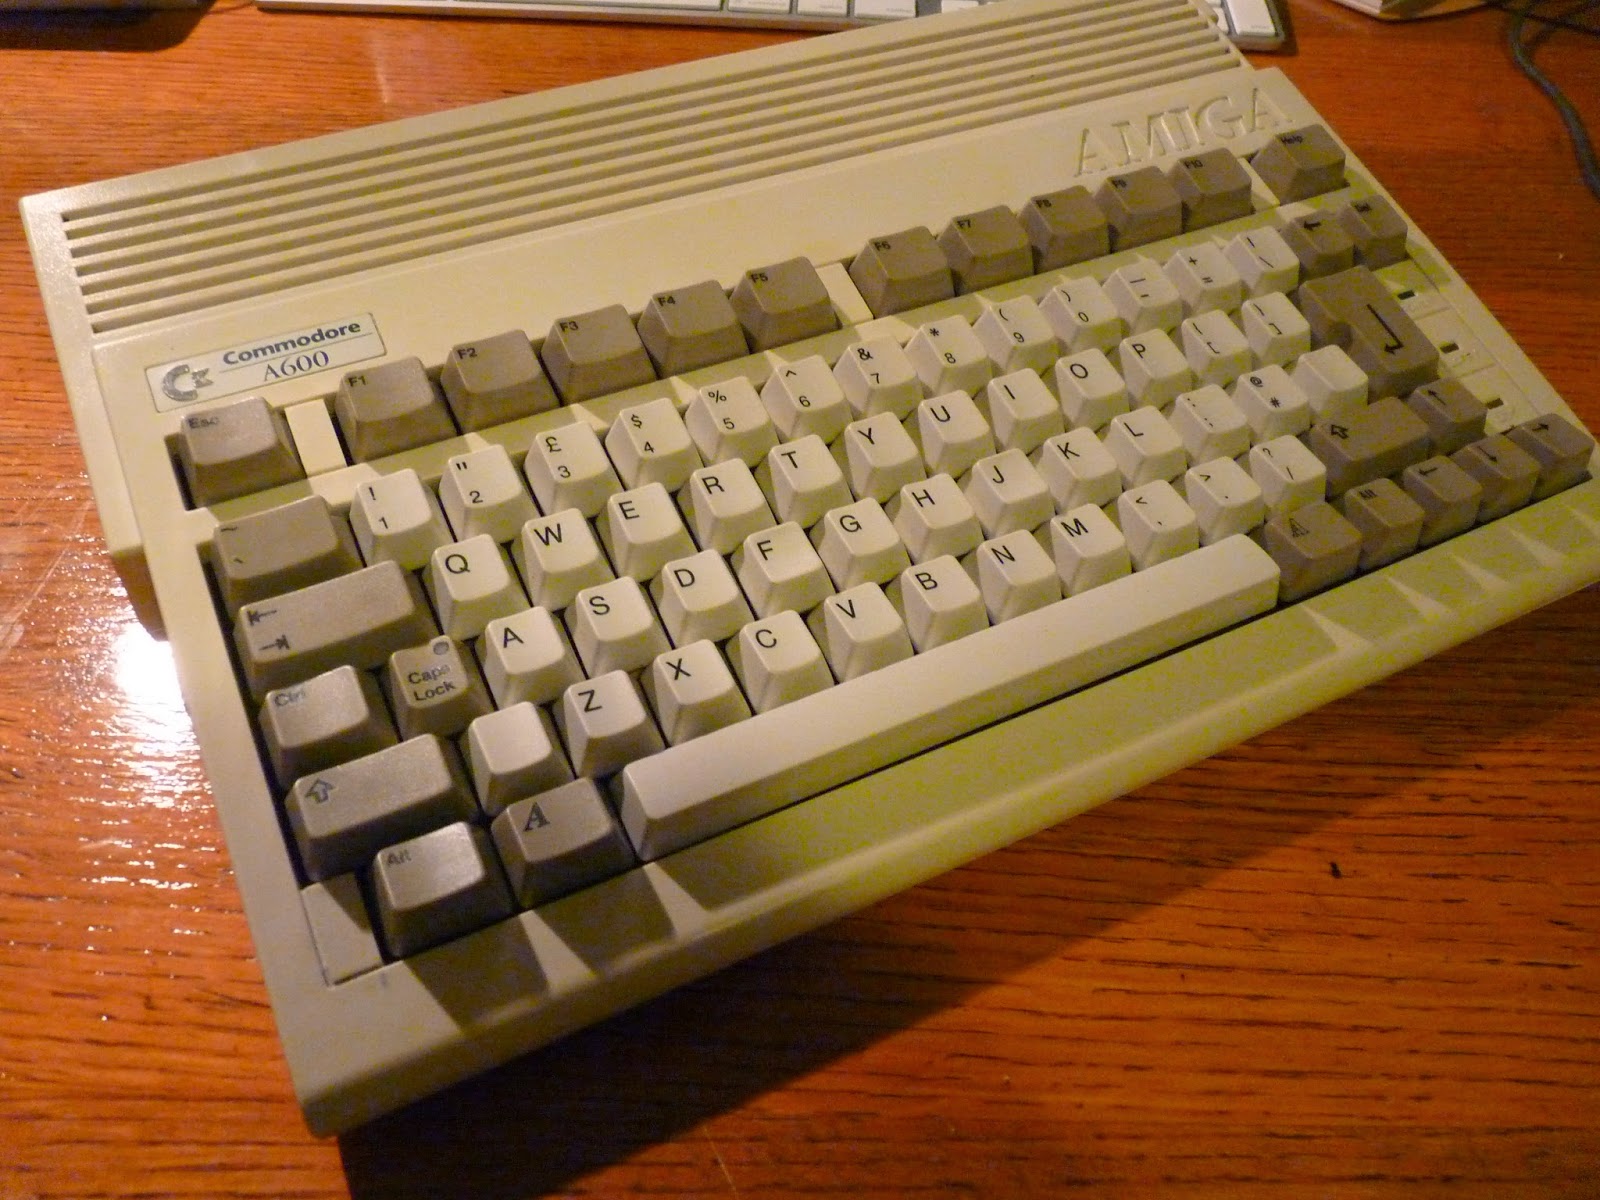
The replacement keyboard (now cleaned up) is shown below:


Next I cleaned the Amiga 600 motherboard with a soft brush, taking great care. I think it has come up looking great:


I checked the capacitors and no leaking anywhere so all good. The motherboard is looking so much better, with hair and dust all gone:


I took a lot of time around the 68000 processor cleaning. This is essential, as the planned upgraded accelerator board attaches around the base of the 68000 processor. It needs a clean connection to the pins of the surface mounted 68000 processor, which is shown below:


Having removed the floppy drive and associated cables for cleaning, the section underneath them now looks much better after a clean too:


Now I can start putting it back together. Although I have a lot more work to do inside this Amiga 600, I want to make sure the cleaning I did hasn't caused any issues, and to test the replacement keyboard works properly.


Unfortunately the previous owner has broken all the plastic connectors for the top part of the case to connect to the bottom, which means the screws are the only things holding the top to the bottom at the moment, but not a big issue right now. It is very easy to break the plastic connectors on the Amiga 600 and 1200. I never managed to do it myself, but plenty of Amiga 600 and 1200's I have bought over the years have this.

Anyway, once put back together it looks like a very nice Amiga 600 again, and ready for testing:


I connected the Amiga 600 back up to the monitor using the scan doubler, booted workbench 1.3 from disk again, and it booted fine, no problems.


I then opened an AmigaShell window and tested all the number keys and then the other keys work on the new keyboard, which they did:


Success, new keyboard installed and Amiga 600 still working well after the cleanup! 

So the next task (and blog entry) I suspect will be upgrading the Kickstart ROM to a 3.1/1.3 ROM Switcher!

Tuesday, 29 April 2014

My Amiga 600 has arrived!

Finally my Amiga 600 arrived today in the post, along with the spare keyboard I bought for it! I was very keen to muck around with it!


This Amiga 600 is almost completely standard, with no extra memory cards, upgrades or hard disks installed.

Below is the view of the left hand side of the Amiga 600, showing the PCMCIA slot.


On the right hand side you can see the Floppy drive, mouse and joystick ports, and the light indicators for power, floppy and hard disk activity.


Moving to the back, you can see the Disk Drive, Serial, Parallel, RCA Audio, Video, AV, RF and Power ports.


The Amiga 600 was the first Amiga to have an AV out port built in. The RF out port was for older TV's lacking an AV port. In this day and age of course we have HDMI and AV ports, with RF still there too!


Turning the Amiga 600 over, we can see the expansion bay cover on the left and vents for letting heat out of the case.


You can open the expansion bay using a flathead screwdriver or a suitable coin, revealing the expansion port (as shown below) which can only be used for Amiga 600 specific expansion cards.

If you look closely you can see the serial number and the "Made in Hong Kong" on the silver label.


As I mentioned before, the keyboard that came with the Amiga 600 is very yellowed. I bought another one separately. This keyboard (unlike the one that came with the Amiga 600) is a UK keyboard, rather than the US Keyboard. This keyboard is free from yellowing, although it will need a clean, the same as the Amiga 600 itself:


I also received the standard Amiga 600 manuals with the machine:


So before I go any further with the initial clean, I want to make sure it works. Because this is a standard Amiga 600 (not upgraded yet) and I don't have a TV in my computer room, I need an external scan doubler to plug into the Amiga 600's video slot, which can then be connected to a TFT monitor via VGA cable.

I bought this external scan doubler below back in 1998, and it is still working well:


The scan doubler also has a inbuilt flicker fixer, which is great for interlace (flickering) screen modes on the Amiga 600.


The scan doubler is needed because a VGA monitor requires a minimum input of 31Hz to display anything. By default the Amiga outputs 15Hz from the video port, which is compatible with analog televisions available at that time.

The scan doubler doubles the output signal from the Amiga video port to the VGA standard 31Hz so it is possible to use a standard VGA TFT monitor to display. Having this means I don't need the old Amiga 1084S/1940/1960 CRT monitors, which are old, fragile, heavy and use a lot of space.


A similar result is achieved by installing an Indivision ECS expansion inside the Amiga, but that is a job for later. First I want to test it out.

Below is the Amiga 600 connected up, scan doubler attached to a TFT VGA screen, and powered on.


As a surprise this Amiga 600 has had the default Workbench 2.05 ROM chip replaced with an Amiga 500 Workbench 1.3 ROM chip! This is why we see the old Amiga 500 V1.3 hand holding the disk prompt, rather than the v2.05 insert disk screen.

Fortunately I have v3.1 and 2.1 ROMS (and a ROM switcher) for the Amiga 600 from previous projects to install in this later. For now I located an original Workbench 1.3 disk, which booted perfectly to Workbench 1.3 as shown below:


The mouse included with the Amiga 600 (and shown in the photos) has a faulty left mouse button, but I have a spare new one so no problems to swap it out later:


You can see below that the Amiga 600 has just the standard 1MB RAM included with it, minus the memory needed to boot into Workbench:


Being a former demo scener and a big fan of Amiga demos, I then fired up Razor 1911 Voyage demo from 1991, which worked perfectly on the Amiga 600. Audio was crisp and both channels working well:


I will next get to grips with taking apart and fully cleaning the Amiga 600 inside out, before moving on to the next step!

Really glad to have an Amiga 600 again, but there is a long way to go before this Amiga 600 is where I want it to be, with many upgrades to come and all to be covered here in this blog.

Tuesday, 22 April 2014

PT-1210MK1 Protracker digital turntable with Amiga 600's

I know this has been reported elsewhere, but I had to link this story - Using PT-1210MK1 Protracker digital turntable to mix with Real classic Amiga equipment. (in this case Amiga 600's)


The website is here:

http://pt1210.kikencorp.com/

Check out the YouTube Promo video here:

https://www.youtube.com/watch?v=4lZwY2dbkSM

Showing live demo using an Amiga 1200:

https://www.youtube.com/watch?v=Rg7Bi6Waje4

How awesome is this! I want to try this out!

Gives me extra motivation for the Amiga 600 project - unfortunately I haven't received it yet, but hopefully soon!

Thursday, 10 April 2014

Found a Amiga 600 keyboard

Following on from my first blog entry, I am getting an Amiga 600 to work on a new project to upgrade it.

As part of this, I already know that I need to fix the keyboard which is in terrible yellowed condition.

Fortunately I have located a much whiter keyboard on Ebay today, which I have also purchased and awaiting it's delivery from overseas.

I include some photos of this item from the seller's listing since I don't have it yet - can't wait to install it in the Amiga 600 when I get both of them!


Important for me is that it is an English Amiga 600 keyboard, not a European one - in Australia we use the US keyboard as our standard keyboard, but I have been using a UK keyboard on my AmigaOne X1000 so I am used to both.

I want the keys in the places I normally expect them to be! From the photos of the item below it is clearly a UK keyboard:


Getting very excited now and can't wait for all this stuff to arrive so I can get started!


Wednesday, 9 April 2014

I bought a second hand Amiga 600!


Today I will look to cover a new project I have decided to undertake, to create an upgraded Amiga 600.

I have just purchased this Amiga 600 above, second hand from Ebay. I haven't received it yet, but it has been shipped and I am looking forward to getting it soon. I have included some photos of the Amiga 600 that were originally on the Ebay listing to keep me going until it arrives!

These days I generally focus more on Next Generation Amiga systems like AmigaOS4 and MorphOS. I particularly spend a lot of time playing around with the currently available AmigaOne X1000 system running the latest AmigaOS4.1.6 on this very blog.


Classic Amigas are Amiga's made and sold by Commodore from 1985 to 1994, and the short period from 1995-1997 when Classic Amiga 1200 and A4000 equipment was made again and sold by Escom and QuickPak.

About me - I have been a Classic Amiga user since 1988. I set up and participated as a musician and demo designer for Australian demoscene group "The Experience", releasing a number of AGA demos in the late 1990's for the Amiga 1200 with 030 accelerator.

I have owned (at one stage or another) most of the Classic Amigas released by Commodore, including:

Amiga 500, 600, 1200, CD32
Amiga 1000, 2000HD, 3000D, 4000D, 4000T

I never did get an Amiga CDTV, Amiga 3000UX or Amiga 3000T though.

On the Classic Amiga front, I currently own an Amiga CD32, Amiga 2000HD (bought new in 1991), Amiga A4000D and my favourite is my rare Amiga A4000T.

I also have a Minimig  FPGA computer running Amiga core firmware, which provides a modern hardware reimplementation of the Amiga 500. (not software emulated)

Anyway, back to the Amiga 600!

The Amiga 600 was probably the most unpopular Amiga released by Commodore in the early 1990's, to replace the very popular Amiga 500 for home users. Primarily this unpopular status was because it was no faster than the computer it replaced, it was more expensive, and used a cut down keyboard which was an issue for some keys that needed the keypad. It even used a different expansion slot that was incompatible with Amiga 500 expansions. Some more information about the Amiga 600 is on Wikipedia here if you want to read up some more about it.

It was quickly replaced in 1993 by the significantly upgraded and much faster Amiga 1200, which was much more popular. Unfortunately not popular enough to save Commodore from bankruptcy...

However, I still quite like the Amiga 600, over 20 years later! It is much lighter and smaller than an Amiga 500 or Amiga 1200, uses Surface Mounted technology on the motherboard to keep the system and failure rate as small as possible (for the time). It has a PCMCIA slot on the left side, supports 2.5" IDE hard disks internally, 3.5" floppy drive on the right side, and has AV and RF out to connect to a TV.

From the photo above it clearly has some yellowing on the keys that will need Retr0bright to fix. Never used the stuff before, but once I get things the way I want them to be, I may well use it!

I should say that I have upgraded Amiga 600's before, and I have a number of parts ready to install on it - Indivision A630 Accelerator, Indivision A604n Memory expansion with clockports, Indivision ECS Scan doubler, Subway USB controller, HxC Floppy SD Floppy drive emulator, CF Card with adapter , Kickstart 1.3/3.1 switcher, AmigaOS3.1/3.9 (haven't decided which OS yet) and more.

My original inspiration for this project is the work done by Michael Gibs upgrading his Amiga 600, including using a HxC floppy emulator on YouTube:


I was also inspired by the work done by Christian Krenner on his amiga 600 upgrade here.

I hope you will enjoy following the work I do via this blog as I hopefully get this computer successfully upgraded!

The Ebay seller did mention the drive casing on the right needs some attention. The picture the seller took below shows this reasonably well.


Having a bit of experience playing with Amiga 600 cases, I believe that the case clip on that side has been snapped off internally. It is very easy to do when removing the case, which says to me that someone has already done some work inside this Amiga in the past. You can see the floppy drive, mouse port and joystick port in the shot above.


The Amiga 600 rear view above shows the Serial, Parallel, Disk drive ports from the left hand side, than the RCA Audio ports, RGB video port, AV out port, RF out port and Power connector port.

The Amiga 600 normally uses a very small external power supply which will not be enough to power the upgrades I will put into inside it during this project. I have previously bought a beefier power supply from AmigaKit to support the expected additional power requirements.


Overall it looks in fair condition - I expect to have to clean out the inside of the case and scrub everything when I get it.

The last Amiga 600 I had purchased second hand was full of cat hairs inside! I was amazed it worked at all! It took me a very long time to clean that out, and I did upgrade the Amiga 600 successfully, but ultimately that Amiga 600 failed - most likely the capacitors which I cannot repair or replace (I lack the skills needed to de-solder and re-solder).

So I then removed all the useful parts, threw it in the bin (I wish now I kept the keyboard which was perfect white) and waited for another Amiga 600 to come along - and that day of arrival should be very soon! Exciting times!

Sunday, 6 April 2014

Amazing Voxel Bird Saga BETA on X1000

Today I want to take a look at the recently released Amazing Voxel Bird Saga BETA for AmigaOS4 on the AmigaOne X1000.


You can download Amazing Voxel Bird Saga BETA from Cherry Darling's website here. It is free to download.

The Cherry Darling developers were also responsible for the 2014 game release Ace of Hearts, which I took a look at here.

I should stress that this game only works if you have the dual graphic card setup installed on your AmigaOne X1000 using a Radeon 9250. You cannot use the Wazp3D software emulation to run it. If you do not have this Dual card setup which enables Warp3D, you cannot run this game.  I covered how to set this dual graphics card setup in my previous blog entry here.

Amazing Voxel Bird Saga is an enhanced Flappy Bird clone (the famous iPhone game if you don't know what Flappy Bird is).

The game uses an interesting concept of a Voxel 3D landscape and some gameplay tweaks to extend the original Flappy Bird game concept and make the game quite fun and playable.

Once downloaded and extracted where you want it, you get a folder like this:


The Readme.txt explains this game is a BETA and runs a bit slowly on AmigaOS4 due to the graphics drivers.

Also note that we need to turn on a fix for 16 bit screen mode as I run a 16bit screen mode on the Radeon 9250 screen for better performance. This fix is applied via an option on the AmigaOS4 icon to launch the game - just remove the brackets around the options as shown below and click on Save:


Once the game launches, it launches in a window, which can be changed to full screen in the Options area on the Main game title screen:


Here is the Options menu where you can adjust Full screen/window mode, music/sound volume, difficulty level and sign into Cherry Darlings online highscore table to post your high scores online!


The music is a wonderful retro Amiga style tune, which I quite enjoyed listening to and works well with the game.

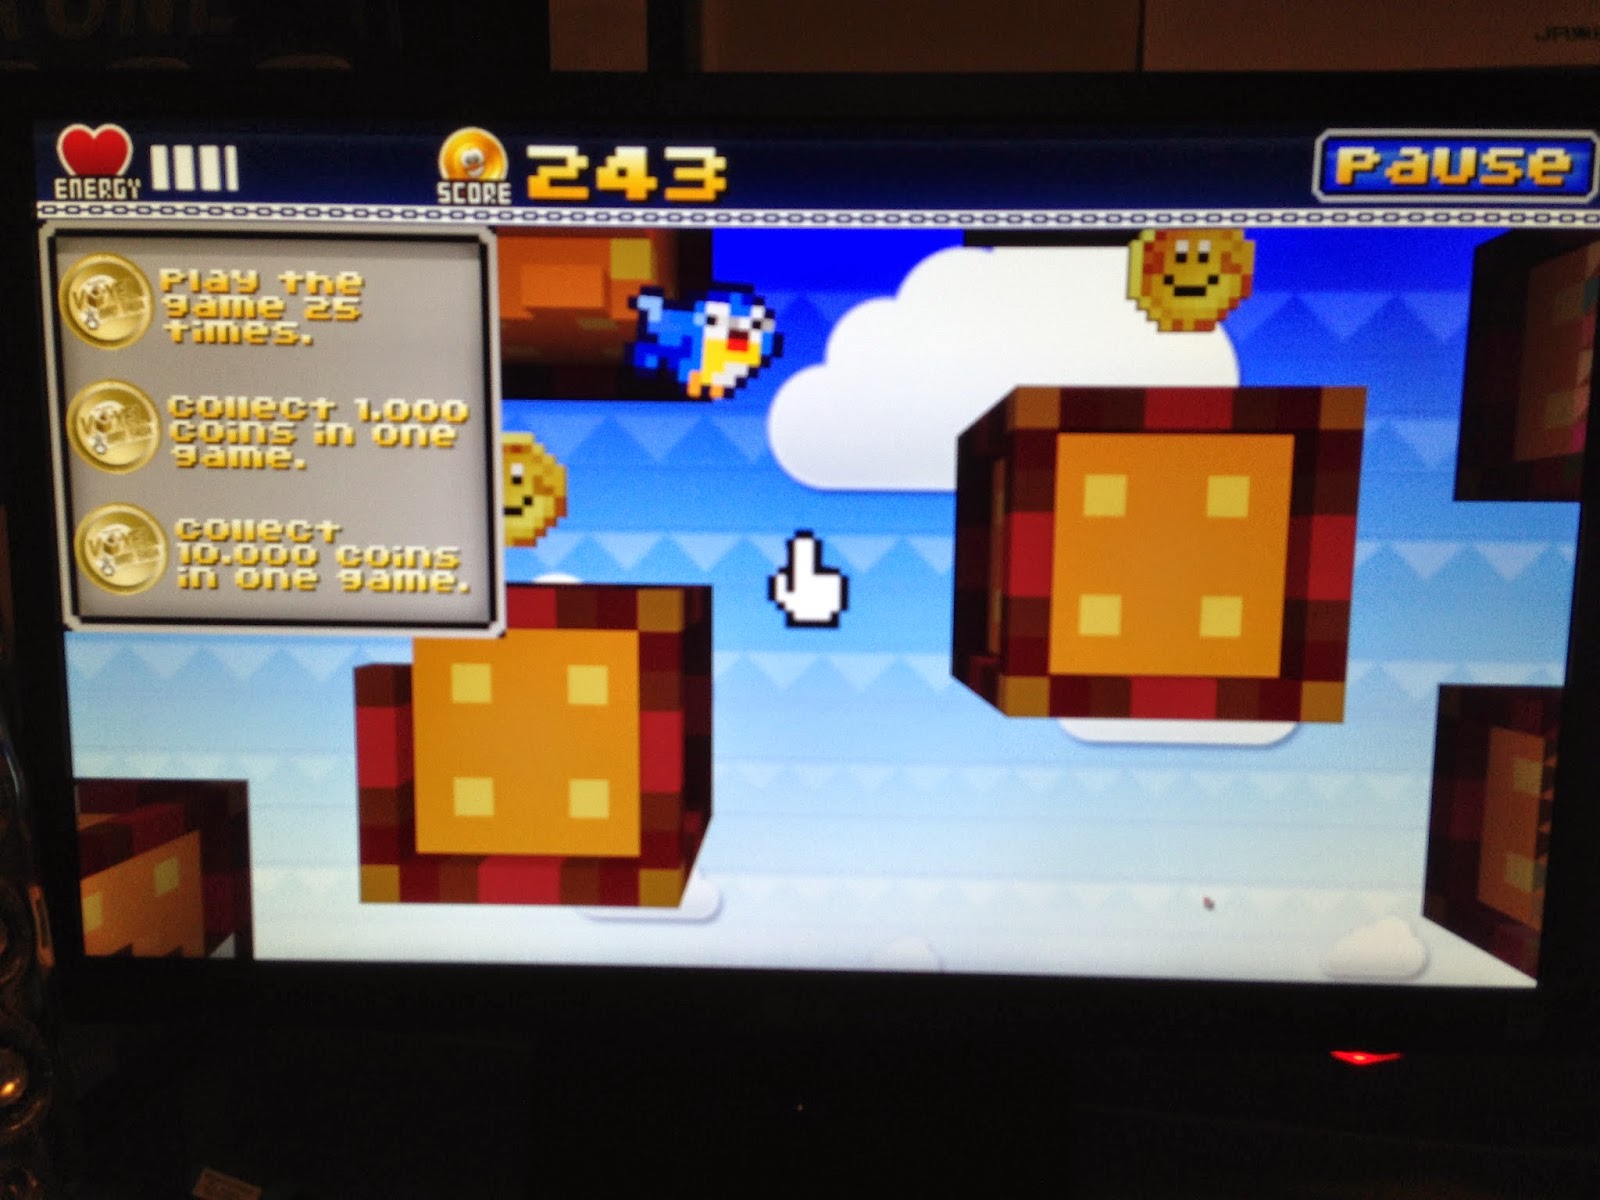
Upon starting the game itself, you are reminded of any achievements you have earned (and there are many achievements to unlock), and a hand reminding you to click on your mouse to start. And just keep clicking and clicking...


Basically you click periodically to keep the bird in flight, otherwise the bird will fall and crash into the ground. Unlike Flappy Bird you have a health bar, which means you sustain damage when you hit the ground or other objects, and it is game over when your health bar disappears.

You fly through coins for more score...you need to fly through the centre of the coins to collect the coin.


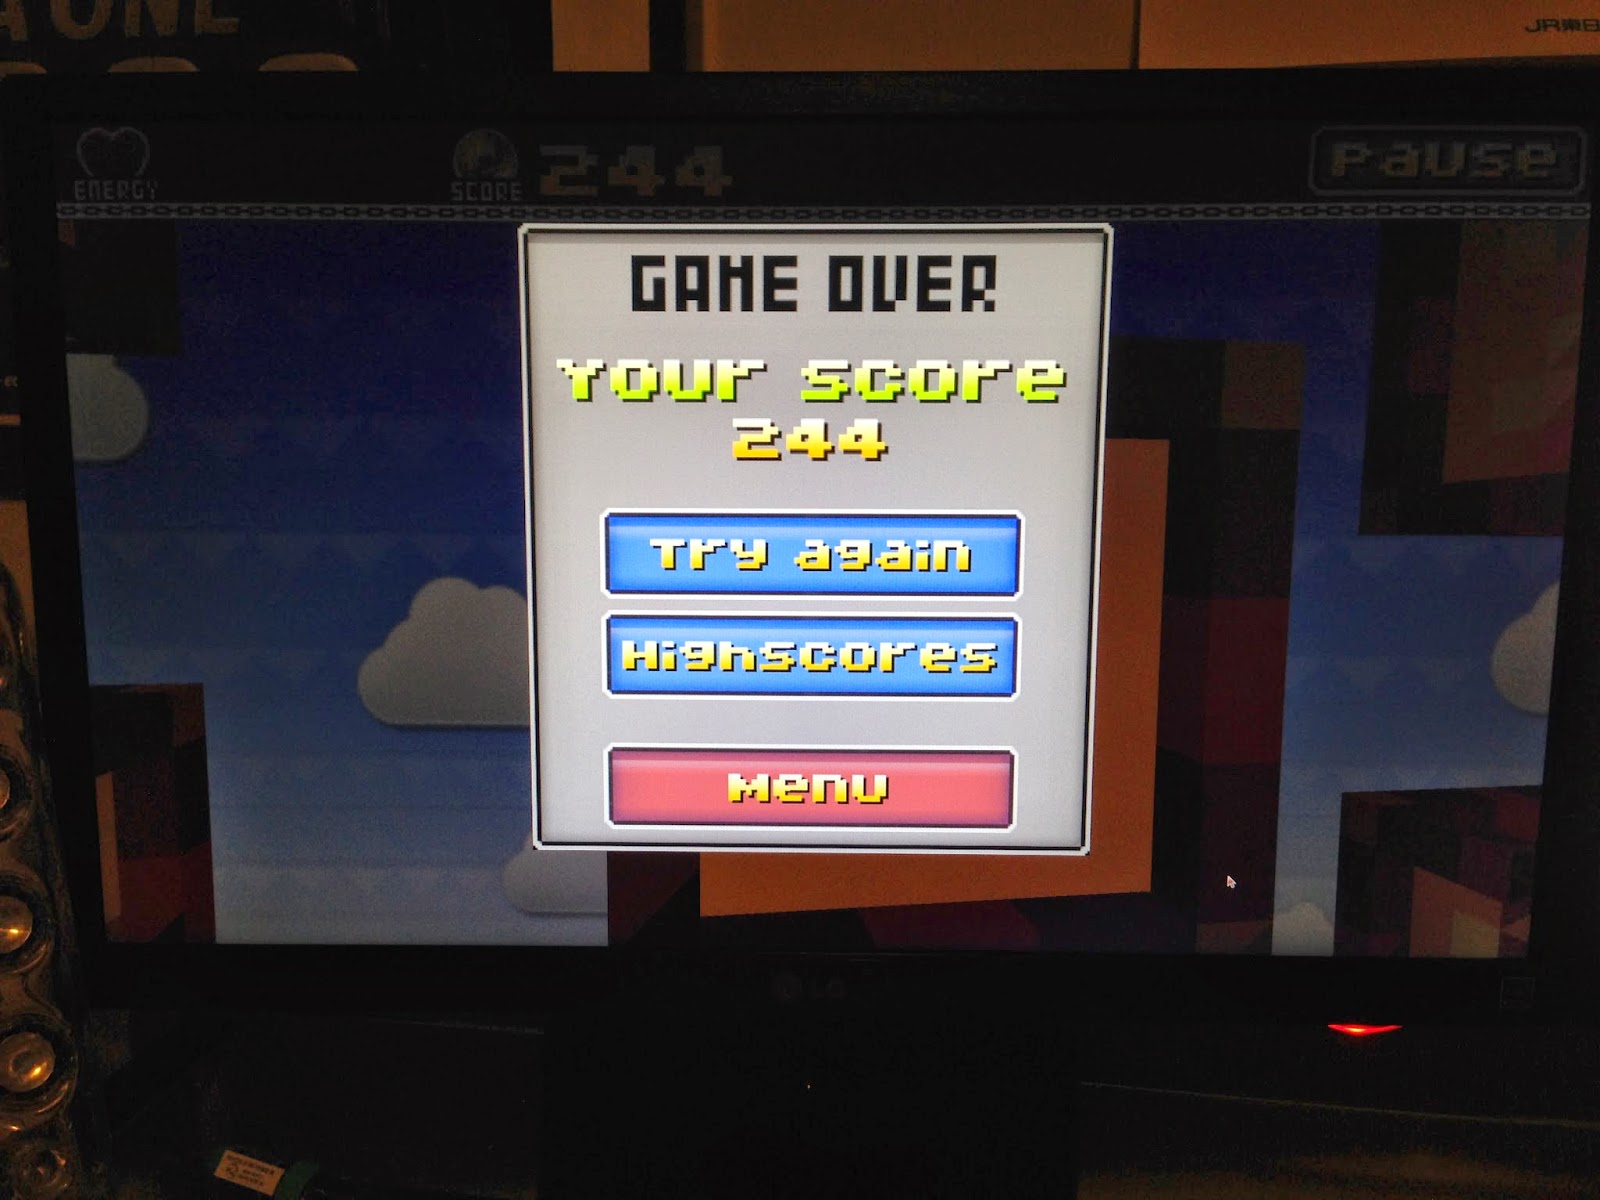
Game over in this game comes quickly, and often. The frustration of keeping the bird going for longer to get a better score is what keeps you coming back for another go:


Here is the high score table - you can switch between local and online high score, and use click and hold with scrolling to scroll through the list:


Here is some more in game screenshots:


If you fly through the flowers in the landscape you get some health back, and hitting bombs destroys a section of terrain and provides points for the coins distorted in the blast:


Here are the achievements you can unlock during the game - I still have a few to go!


I have uploaded a YouTube video to show the gameplay a bit better, showing both window mode and full screen. I did my best ever score in the full screen mode part of the video! Sorry but the camera angle is a bit crooked and I didn't realise until after I did it - I have very little chance of repeating that good run again so it remains like this. You may also need to turn the volume up a bit as I recorded the video on an iPhone:


I have to say that Amazing Voxel Bird Saga is a great game. Very addictive, graphics and sound are great (although there are some drawing errors at the bottom of the screen occasionally), and the game play can't be faulted. The online high score facility is also welcome.

The extra parts of the gameplay above the standard Flappy Bird clone fare makes this game a lot more engaging and fun to play.

This is a highly recommended game (even in BETA form) for X1000 owners, especially considering it is free! But please ensure you have the dual graphics set up with Radeon 9250 first, in order to be able to play it.