So this weekend I received a surprise to play with from George, the president of the Adelaide Retro Computing group - a stock standard Classic Amiga 500! Thanks mate! The first challenge of course being that it doesn't work and I needed to work out why before I could use it!
I haven't had an Amiga 500 since around 2004 when I sold it to raise funds for my Amiga 4000T. It is nice to have one again in 2016 :-)
When I hooked up the Amiga 500 at home with my external scan doubler to VGA converter it flashed the power led and the screen was Yellow. Not a great start!
I took a few pictures of the Amiga 500 itself, which seems in good condition externally:
So I pulled the case off the Amiga 500 so I could have a good look around:
I then remove the metal shield protecting the motherboard, exposing the A500 board:
A quick snoop turned up that this particular Amiga 500 is a Revision 5 board, and has a Fat Agnus chipset, meaning it is an ECS machine (not OCS).
Here is the yellow screen - apologies for the strange lines, but the external Scandex scan doubler I was using is poor quality - but good enough to see what is going on for now:
The yellow status screen means either the CPU or an expansion card is faulty. Since no expansion cards are installed, that means the 68000 CPU is not working...
Luckily for me I have a spare 68000 CPU I could slot in, so I set to work removing the old one and putting in the new one. Below is a pic of the new one installed on the left and the old faulty one nearby on top of the Fat Agnus chip:
So I powered on the Amiga 500 again and bingo, I get the insert disk screen - excellent!
Next up was trying out the floppy drive, which I quickly found was faulty.
Since I didn't have an immediate solution to this, I decided to connect up my ACA500, which I think will be perfect for this Amiga 500!
I used this previously on the Amiga 1000 back in this blog post if you would like to see more information about the ACA500.
Here is the ACA500 connected to the Amiga 500, ready to test:
The ACA500 worked straight away and I selected the Kickstart 3.1 boot up, which soft kicks the 3.1 kickstart into the ACA500's memory, and then boots the hard disk from the CF card:
That being done, I set about fixing the awful video output. I bought a Indivision ECS to install into the Amiga 1000 a few months ago but that didn't go well! So it seemed the perfect opportunity to install it into the Amiga 500:
I removed the Denise chip, ready to install the Indivision ECS in it's place and put the Denise chip on top of the Indivision ECS.
Here it is, all plugged into to the Denise socket:
All connected up now, I then fed the VGA cable through the small gap in the left hand zorro slot expansion and powered on. It worked! Of course this looks so much better!
Next I reconnected the ACA500 which slotted in nicely and didn't get in the way of the vga cable running through the slot - the ACA500 booted up no problem:
I then set about fixing the workbench overscan settings in preferences to line up the Indivision ECS display with my screen:
That done, here is the Workbench 3.1 with DOpus running in Workbench replacement mode:
The lack of memory (only the 512k onboard since the ACA500 memory is used to soft kick the kickstart 3.1) makes things pretty unusable at the moment:
Next I sourced an Amiga 600 floppy drive to make sure the floppy can work correctly:
The A600 floppy drive worked perfectly on the Amiga 500, here booting the Workbench 1.3 disk:
I also ran a Razor 1911 Voyage demo to test the sound, which was working perfectly also:
There is still plenty more to do, but this Amiga 500 is already starting to show plenty of promise. More to come in a future blog post!
Showing posts with label 68000. Show all posts
Saturday, 16 July 2016
Wednesday, 30 April 2014
Cleaning the Amiga 600!
Having confirmed the Amiga 600 worked ok, today's job was cleaning it out. This of course meant pulling it apart for the first time.
After opening the case (as above), I took a closer look. As you would expect for a computer that is over twenty years old, it is quite dusty inside and in need of a good clean.
Below you can see the kickstart 1.3 ROM and the PCMCIA port on the left:
Thin layers of dust and bits of hair everywhere to clean up. Here is a close up of the IDE connector and hard disk caddy tray:
Really looking forward to cleaning this Amiga up. The shot below shows the Amiga 600 motherboard revision is 1.5, with the Amiga 600 codename "June Bug", continuing the tradition of naming system motherboards after songs written by the music group the B-52's:
The hard disk caddy below is not screwed in and is easily removed. I will keep this caddy out the Amiga 600 permanently as I know I can't have this caddy in place with the planned upgraded Accelerator board mounted in basically the same position:
Next I removed the awful yellowed keyboard from the top part of the Amiga 600 case.
Doing this revealed some terrible rust on the base of the keyboard (which was hidden by the top part of the case previously. In addition, the keyboard itself is bent too, probably from someone hitting or slamming too hard on the arrow keys playing a game I suspect!
The rust left imprints on the top case cover which I needed to clean up too. It made the decision to purchase a replacement second hand Amiga 600 keyboard make perfect sense.
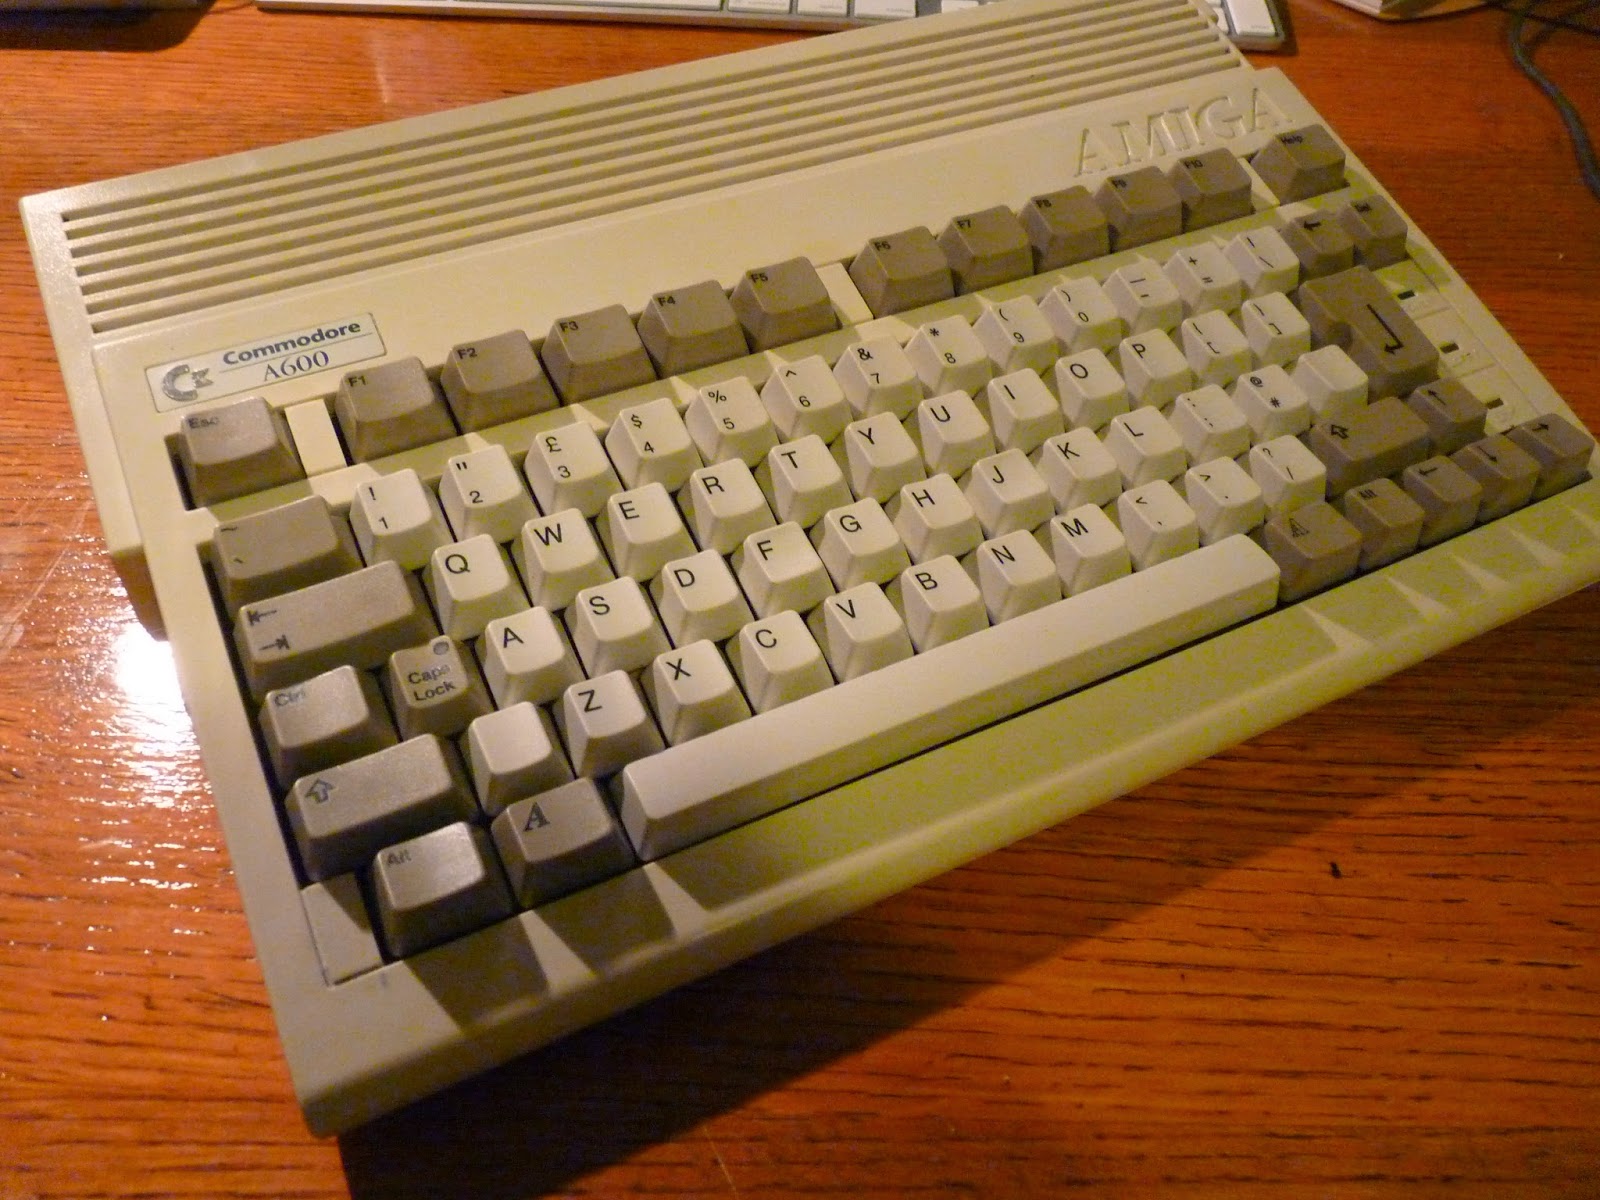
The replacement keyboard (now cleaned up) is shown below:
Next I cleaned the Amiga 600 motherboard with a soft brush, taking great care. I think it has come up looking great:
I checked the capacitors and no leaking anywhere so all good. The motherboard is looking so much better, with hair and dust all gone:
I took a lot of time around the 68000 processor cleaning. This is essential, as the planned upgraded accelerator board attaches around the base of the 68000 processor. It needs a clean connection to the pins of the surface mounted 68000 processor, which is shown below:
Having removed the floppy drive and associated cables for cleaning, the section underneath them now looks much better after a clean too:
Now I can start putting it back together. Although I have a lot more work to do inside this Amiga 600, I want to make sure the cleaning I did hasn't caused any issues, and to test the replacement keyboard works properly.
Unfortunately the previous owner has broken all the plastic connectors for the top part of the case to connect to the bottom, which means the screws are the only things holding the top to the bottom at the moment, but not a big issue right now. It is very easy to break the plastic connectors on the Amiga 600 and 1200. I never managed to do it myself, but plenty of Amiga 600 and 1200's I have bought over the years have this.
Anyway, once put back together it looks like a very nice Amiga 600 again, and ready for testing:
I connected the Amiga 600 back up to the monitor using the scan doubler, booted workbench 1.3 from disk again, and it booted fine, no problems.
I then opened an AmigaShell window and tested all the number keys and then the other keys work on the new keyboard, which they did:
Success, new keyboard installed and Amiga 600 still working well after the cleanup!
So the next task (and blog entry) I suspect will be upgrading the Kickstart ROM to a 3.1/1.3 ROM Switcher!
Subscribe to:
Posts (Atom)