Today I wanted to take a look at Hollywood 6.0 on AmigaOS 4.1 Final Edition on my X1000, which was released in 2015. I will also take a look at the updated Hollywood Plugin for Cubic IDE and a quick look at FastView as well!

Hollywood 6.0 is a commercial product made by Andreas Falkenhahn, and is available to purchase on his website here for 99 Euros, or cheaper if bundled with Designer 4.0 or as an upgrade from an older version.
I looked at Hollywood Designer 4.0 previously (along with Codebench) in a previous blog post here last year, but today I wanted to have a look at the upgraded Hollywood Version 6.
It is great to have programming languages for AmigaOS 4.1 that are more accessible to non-professional programmers like myself! :-)
After purchasing, downloading and putting together the ISO for the installation as per the instructions, I then ran the installation from the ISO, mounted with DiskImageGUI under AmigaOS4.1 on my X1000:

Interesting is that you must run Hollywood 6 on a screen greater than 256 colours, which means it no longer works on Classic Amiga systems without a graphics card installed.

My previous Version 5 installation is picked up by the installer and I am prompted to update it:

Note that the "upgrade" will actually delete everything in your current installation - you are warned of this. In my case I keep my projects in a separate drawer so it is ok to proceed:

Make sure to choose AmigaOS 4 here, since I am installing it on the X1000:

Once the files are copied across the intro will then play:

When you close it the installer provides information about how to compile Hollywood 6 programs from the Shell. I plan to use Cubic IDE with the hollywood plugin to edit/compile my code for Hollywood:

The CTRL-C shortcut to kill a Hollywood program is a good tip to remember:

Installation is completed successfully:

After closing the installer, another Hollywood program runs to show the new features in Hollywood 6, as below:


There are so many plugins for Hollywood offering lots of extra functionality now!

The information about Radeon HD support for video drawing and scaling for better X1000 performance is very welcome!

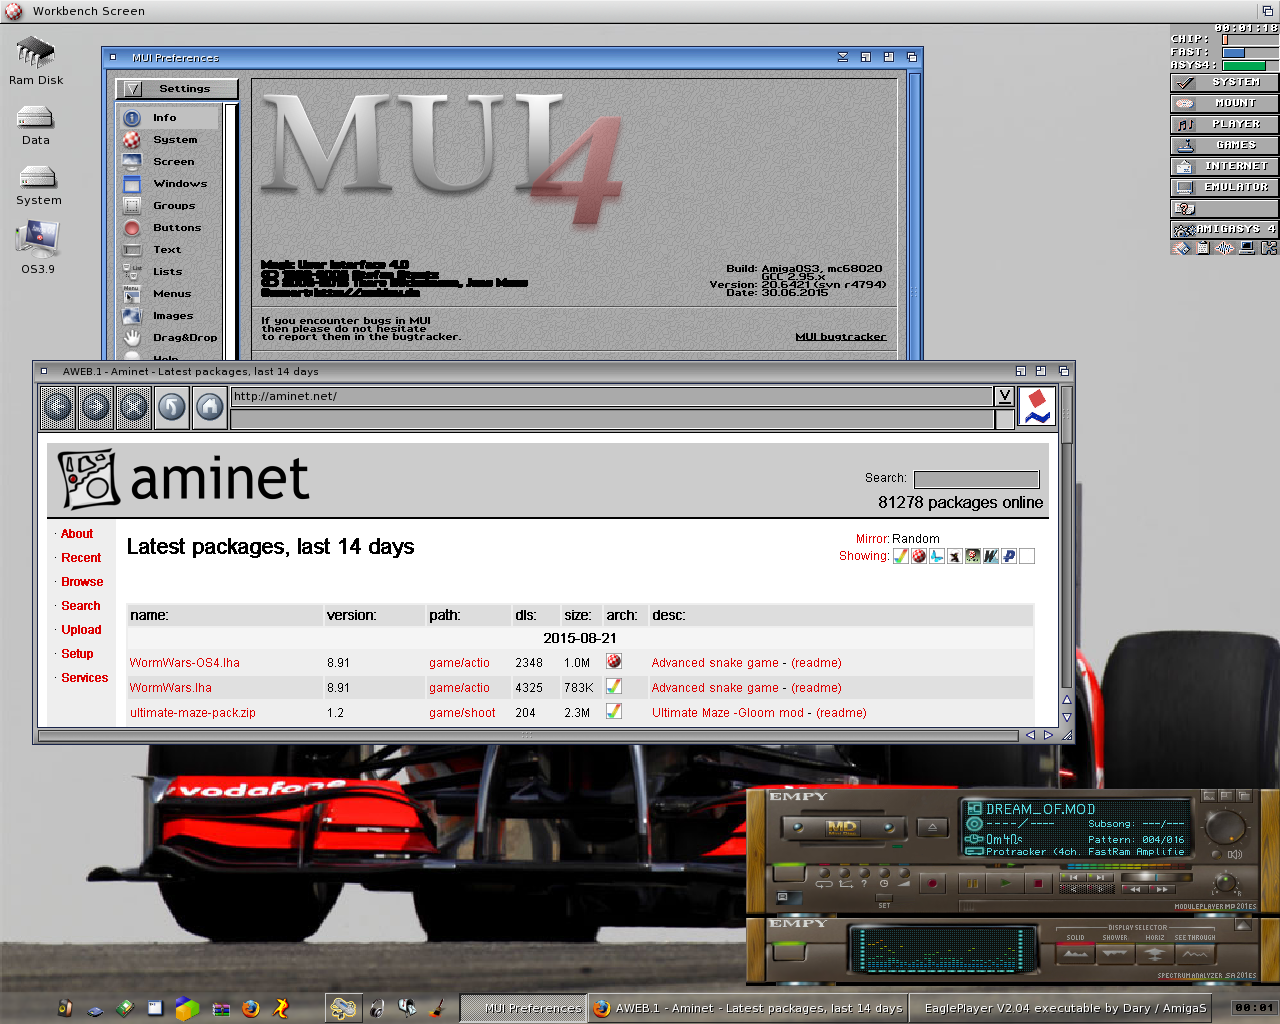
Having installed Hollywood, the next thing I needed to do was update my Hollywood Plugin for Cubic IDE. Cubic IDE is a full featured Development Environment for AmigaOS and is available for purchase for 44.90 Euro here. It is my choice of editor for most things under AmigaOS4.1, including Hollywood programs I am working on.
You don't have to use Cubic IDE to edit Hollywood scripts of course, any text editor will do the job. But Cubic IDE has many great features and I believed it worth the price to have every programming project I am going to edit integrated in one application with syntax highlighting, context help and more, plus edit/preview/compile functions.
You can download the Hollywood 6 plugin for Cubic IDE from the Hollywood download page here. Here is the extracted archive to install:

The info document doesn't say much, the installation is straightforward - obviously you need Cubic IDE installed before you do it:


As this is updating an older installation of the plugin - it will let you know and prompt to replace the files. I click Yes to All here so it doesn't prompt for every new file:

Installation completed:

After rebooting the system, I then download all of the Hollywood plugins available for AmigaOS 4.1 and then install them all! They are all available on the Hollywood download page here. Would love an installer that would just install all of them in one go! :-)

I then run Cubic IDE, and I can see the Hollywood plugins in the toolbar and menu options available. This plugin includes syntax highlighting, command structures and help as you go - click to expand these pictures:

The link to the Tutorial to get started in Hollywood prompts me to actually try it out!
You can see the various Compile options, allowing me to compile Hollywood programs for AmigaOS3, AmigaOS4, AROS, MorphOS, MacOS, Windows too! This program is multi-platform and your compiled Hollywood scripts can be chosen to run on many different platforms!


You can also Run a Hollywood program from within the editor, in window or full screen without creating an executable - very handy to try out changes quickly (as below):

Here is the full Hollywood Amigaguide manual - it is an excellent resource and clearly a lot of work has gone into writing it:

Suitably inspired now to give Hollywood 6 a go, I create a drawer in my Hollywood_Projects drawer called HelloWorld:

I then create my base .hws script called Helloworld.hws (incorrectly called .hwp in the initial screenshots sorry) into that drawer. I then get to work on writing my Hello world program as shown in the tutorial:

Here is the resulting program when I run it from Cubic IDE:

It exits when you click the left mouse button (due to the WaitForLeftMouse() call in the script), or the close gadget or CTRL-C.
Not very exciting, but a start nonetheless! Next, I fired up FastView to look for a test background image from my collection to try out. FastView is part of the zTools suite available for purchase for AmigaOS 4.1 on AMIStore)

The image I selected is a photo I took of a Bento lunch my wife made for me last year! One problem of course is the images taken with the camera are too high resolution for the window they will run in. This is why I ran FastView, as it allows me to quickly resize it.
After selecting the image in Fast View, I then select the Options tab below the picture preview, modify the pixels next to Rescale to the size I want, or select a % zoom (in this case I selected 25%) and then click on Rescale (as shown below):

This then produces a separate JPG file appended with .SCALE, which I can then click Open Drawer in Fast View to be taken directly to the drawer containing the file. Given the messy structure iPhoto uses to store photos (where I copied the photos from originally) this feature is very helpful indeed:

This is great as I can then quickly copy it to the HelloWorld drawer for my project!
I then modify my Hollywood code to support the background picture, which is as simple as typing:
@BGPIC 1, "file"
I love the simplicity! You can also add comments to your code with /* */ or with ;

I then run the program and it works straight away!

Next I want to create an executable for AmigaOS4.1, which as shown earlier I can access from the Cubic IDE toolbar using the Hollywood 6 plugin:
It then prompts for the name of the program executable, which will be HelloWorld:

The compilation then gets underway - the status can be seen in the bottom Output pane of Cubic IDE:

I then have an executable program I can run on AmigaOS4.1. My first program in Hollywood 6!

I am not leaving it there though - I still want to try some more things out.
I first fixed the .hwp extension in my HelloWorld script to .hws as this is a Hollywood Script (hws), not Hollywood Plugin (hwp)! That was a silly mistake!
Next I copied one of my songs as an MP3 file (originally tracked by myself in Impulse Tracker) into the HelloWorld drawer, and preload with:
@MUSIC 1, "file"
This preloads the file (assumed to be in the same drawer as the script) into the executable with ID 1, which means you get one program without dependent files needed in the drawer after compilation. I then add PlayMusic(1) to play the music in the background - how easy is that!

I then comment out the original Print line and use a function I read in the manual called TextOut, which allows me to place text at particular x and y locations on the screen. I can also specify #CENTER as the location, which will automatically centre my text on the window size the program is running in. This is more flexible as it is size independent:

Here is the resulting program:

Next I want to change the font - in Hollywood you can use True Type fonts (TTF) or Bitmap Amiga fonts. Using Amiga fonts is easier, and you can choose to include the font with the program (bad idea) or reference an existing AmigaOS 4.1 font. Remember that if you compile for other platforms the font needs to be available there too if you want to look right. In that case bundling the font may make sense, but remember there are licensing considerations if you include fonts in your programs...
In my case I am just playing around, so I look at the fonts under AmigaOS 4.1 using the Fonts Prefs tool:

At this point I also invoke Layers, which allows me to create objects like boxes, etc, that can be placed and moved/rotated around the screen as needed. This is done by typing into the script:
EnableLayers()
The Box command is also added, to enable me to create a filled box over the image, that the text will then be displayed in. The Box is called with:
Box(x,y, size_x, size_y, colour, table options)
In my case I added the option {RoundLevel = 25} to get the Box drawn to have rounded corners that are 25% of the box size.
If you are wondering where I found this stuff out, I had no idea either initially. I was just looking around in the manual at the various sections on displaying fonts, etc and stumbled on various commands to do things and tried them out to see what they did!
As a final thing I also found a neat feature that allows you to create a Gradient fill for your box, using SetFillStyle before creating the box, to set the parameters for the fill - in my case a Linear Gradient, going from Black to Blue.
Putting this all together (with comments) in the revised script, it now looks like this:

I also chose a different picture (of the Nagoya Railway Museum) and rescaled it using FastView to 1920x1080 so it would look nice when run in full screen.
The resulting program looks like this:

I haven't even begun to scratch the surface of what is possible with Hollywood 6, but this initial play with it has convinced me to push forward with trying to code some different projects of my own!
Stay tuned, more info will come as my various dream projects can be met by my slowly improving coding skills as time permits! I will also take a close look at the cross compatibility angle in a future blog entry.
Hopefully this gives you some insight into the product and how easy it is to do things!
Hollywood 6 is a very interesting product and is recommended for those who want to make programs for AmigaOS 4.1 (Mac, Windows or other Amiga platforms too), but are not professional coders!