
This model of Indivision AGA works on the Amiga 4000D and Amiga CD32.
Here it is installed in the Amiga 4000D, prior to me removing it:

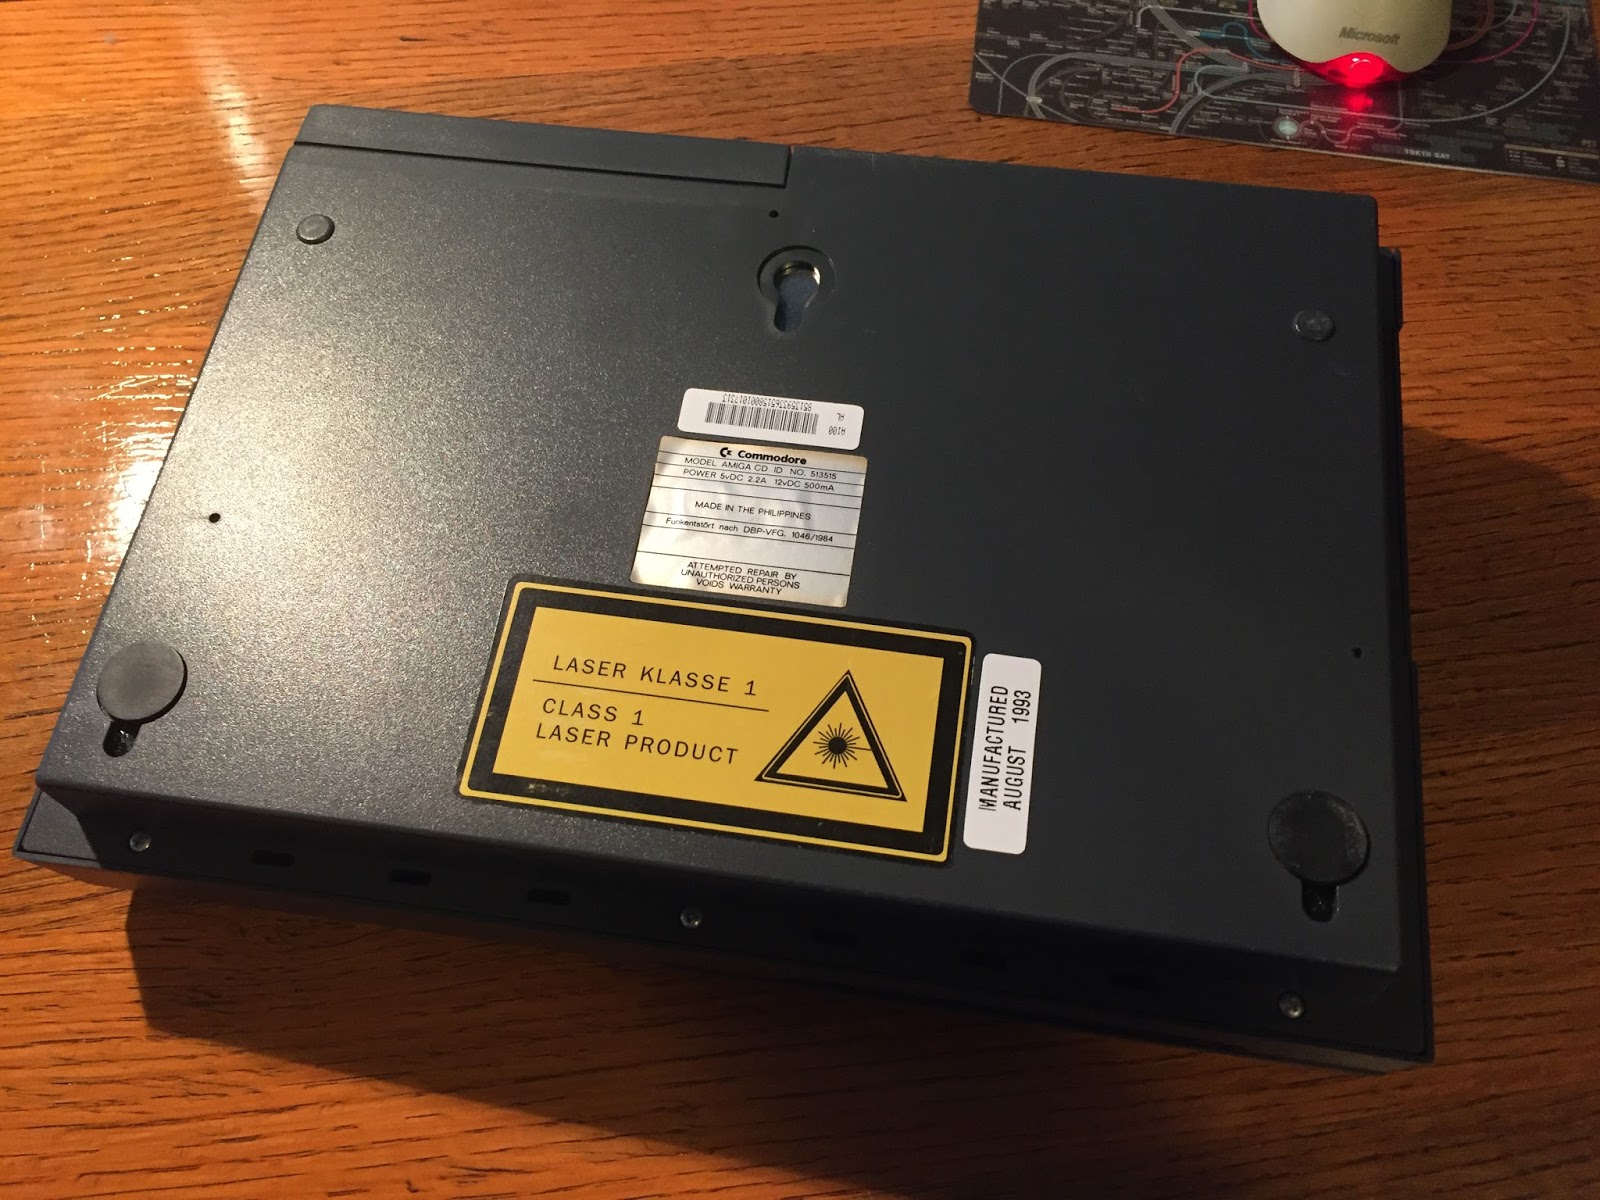
This particular unit was made in the Philippines. I suppose they all were but don't know that for sure...interesting that the system is called an Amiga CD, not an Amiga CD32...

Here is the view through the rear expansion bay after removing the cover, which is currently empty.

The Amiga CD32 opens up like a book once the screws are removed, with the top and bottom opening side by side, connected by a short ribbon cable:

Looks quite clean and in good condition. Here is a view of the top half of the case:

Here is a close up showing this Amiga CD32 is a Revision 3 motherboard, made in August 1993. I note on the motherboard it is also identified as an Amiga CD/Games system, not a CD32. Interesting!

Here is the Akiko custom chip, unique to the Amiga CD32:

Here is my Indivision AGA, now removed from the Amiga 4000D and ready for installation into the CD32.

Helpfully it shows which direction it needs to face in the CD32 with arrows on the board itself - it fits over the Lisa chip on the motherboard.
Here is the underside of the Indivision AGA, showing where it connects over the Lisa chip:

Here is the Lisa chip on the CD32, on the bottom right:

Here is the Indivision AGA now installed in the CD32. It fits nicely:

I grounded the Inidivision AGA to a screw on the case. I suppose on reflection I should have done it to the motherboard screw as I did on the A4000D...hmm, might fix that later.
There is fortunately enough cable length on the VGA connector cable to run it out of the back of the CD32 case:

With the expansion slot cover on the via port pops out the side - I suppose I should make a hole on the expansion slot to mount the via port to the CD32 more elegantly, but not yet since I want to make sure it works first.

I connected it to my 19" TFT screen to try it out, and it worked first time. Here is the Indivision AGA firmware splash screen on power on:

Not long after is the CD32 menu screen, looking so much better than via AV out previously:

Very happy boy, looks great now:


A shot showing the VGA connection on the CD32:

First I played an audio CD through it, and the audio player interface looks much better on VGA output now:

Next up I fired up the CD32 200 CD, which has 200 games to play from a massive menu of titles:


Decided to give Gods a go, a classic Amiga game from the Bitmap Brothers.

Needless to say I got a little distracted playing it:

A few minutes turned into 30 minutes...


As you would expect from a Psygnosis title, the intro was impressive:

The game itself was not that exciting though - gameplay reminds me a bit of a section of the game "Awesome" they wrote in 1990, updated with fancier graphics:


In any case I was very glad to get the Amiga CD32 upgraded to use an Indivision AGA this weekend - it certainly makes the output of the console much better! I ran it for a few hours and seems to be stable. Now I need to see what other upgrades for the Amiga CD32 I can find! :-)
When I think it better, Amiga CD is a proper name, since 68EC020 isnt fully 32-bit :-) Great job in expanding the Classics - 1000/4000/CD32, but its A600 Vampire time that beats it all >:-) Hope A1-X1000 reviews will be back soon, and your case with CFE update brick and months and months of wait for Nemo reflash just indicates my opinion of UK Amiga Shop.
ReplyDeleteIs it my eyesight, or is that electrolytic cap by the expansion port bulging on the top ?
ReplyDelete@Vojin kipper2k has said several times that making a Vampire for the CD32 is something that he really wants to do.
ReplyDelete@Epsilon Ever since I saw what someone did when installing an Indivision in a CD32 in a YouTube video, I've definitely come to the conclusion that, just like on a 1200 or 600, the ideal place to mount the VGA/DVI (depending on revision of Indivision) is where the RF modulator currently sits. On the CD32, it's almost as if Commodore had designed the motherboard and case with the Indivision in mind. When lined up right, the connector is perfectly centered in the existing hole in the case with just enough clearance on the sides to expose the holes to screw the monitor cable in. There's even some good points to securely mount it to so the connector is sturdy and won't move when plugging in the cable.
If you want to do this, removing the RF modulator is easy as it is on other Amigas. For the proper left to right alignment, if you're looking across the motherboard towards the back connectors, there are 2 ground traces on the left side of the spot for mounting. If you line up the center of the left screw hole on the connector (still from the same perspective) with the right trace of the two ground traces, the connector will be perfectly centered in the hole in the case. If you're just looking at the motherboard, it will look like you've mounted the connector too far to one side but once the case is back on, it's a perfect fit.
This is a great solution because there's no modification to the case or hacking of the motherboard and, if you ever wish to, is completely reversible to stock. All credit to RetroMods on YouTube.
Whoops, this is what comes from trying to do something from memory. It's not ground traces that you align with, it's two white lines on the solder mask and you line up with the left line.
ReplyDeleteTo see how this is done, look from 1:01:00 (that's one hour and one minute) of this video to see the alignment and mounting. He's mounting a D-sub 9 but it works for the 15 pin VGA as well. Actually the VGA fits better.
The technician is RetroGameModz. He's done some great mods and is very good at describing the technical issues clearly with diagrams and the schematics so you can understand not just how to do something but also why it's done that way. His channel is well worth looking at.
https://youtu.be/CosmnuWvQ0Y